Migrating from Snowflake to ClickHouse
This guide shows how to migrate data from Snowflake to ClickHouse.
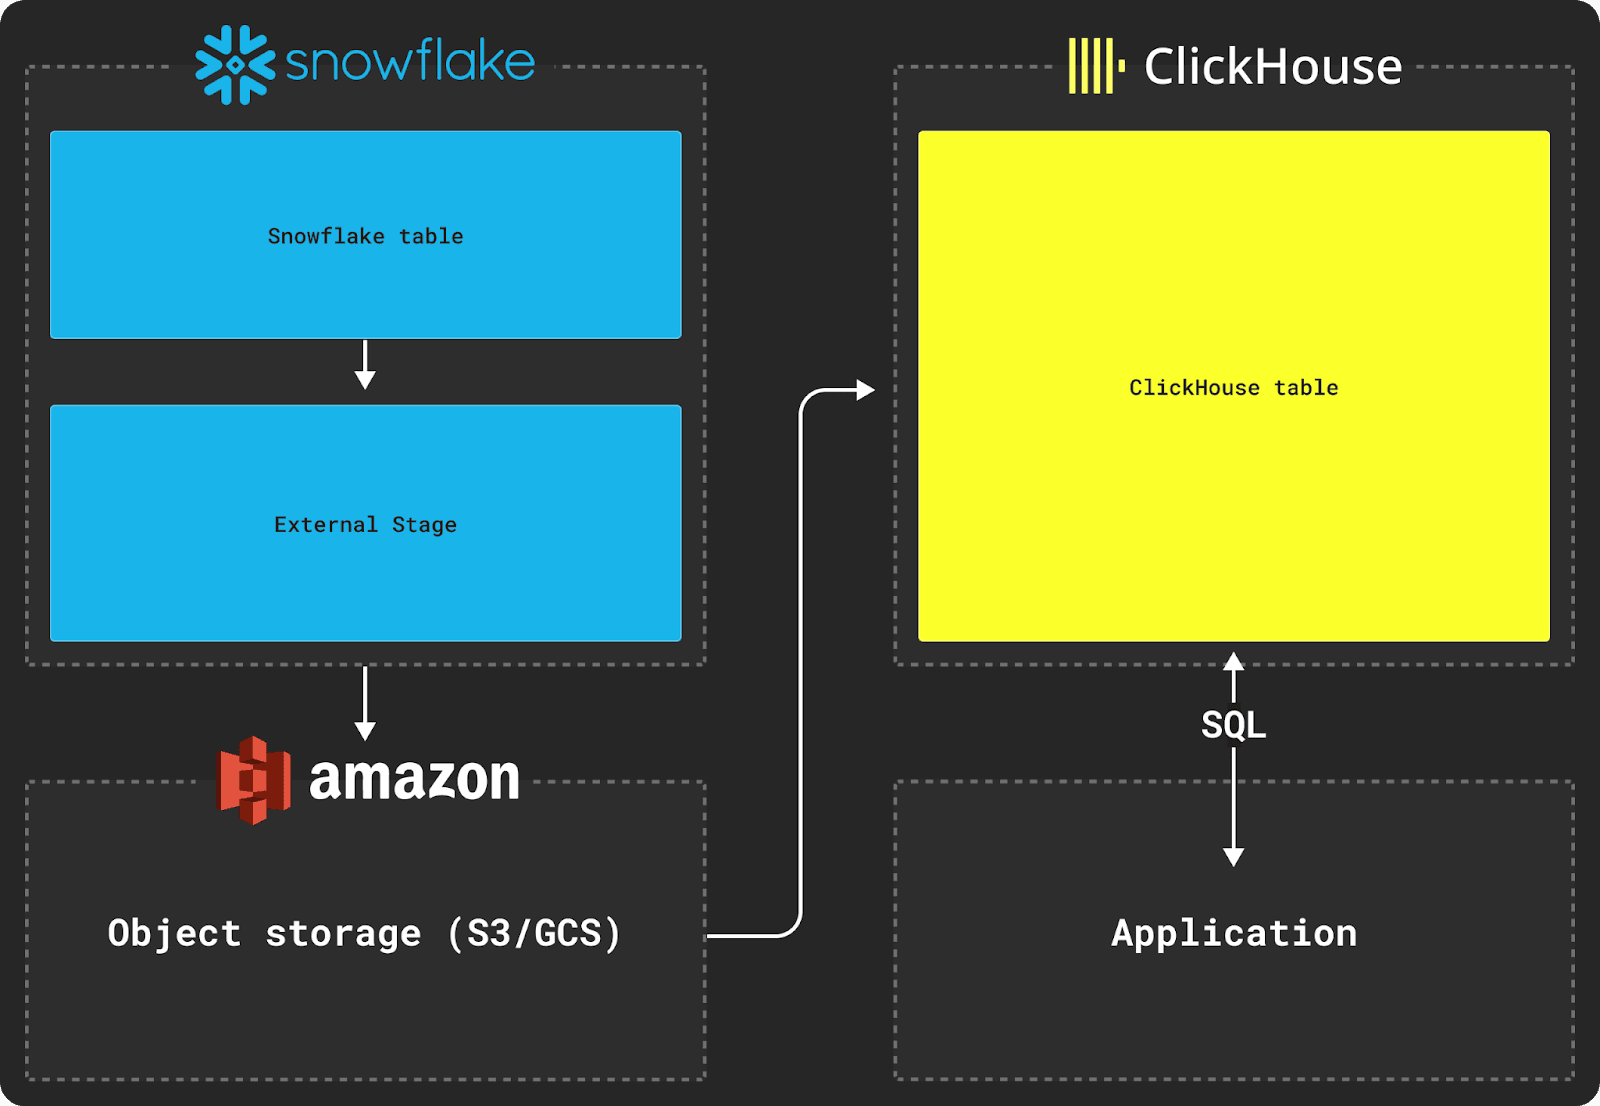
Migrating data between Snowflake and ClickHouse requires the use of an object store, such as S3, as an intermediate storage for transfer. The migration process also relies on using the commands COPY INTO from Snowflake and INSERT INTO SELECT of ClickHouse.
1. Exporting data from Snowflake

Exporting data from Snowflake requires the use of an external stage, as shown in the diagram above.
Let's say we want to export a Snowflake table with the following schema:
CREATE TABLE MYDATASET (
   timestamp TIMESTAMP,
   some_text varchar,
   some_file OBJECT,
   complex_data VARIANT,
) DATA_RETENTION_TIME_IN_DAYS = 0;
To move this table's data to a ClickHouse database, we first need to copy this data to an external stage. When copying data, we recommend Parquet as the intermittent format as it allows type information to be shared, preserves precision, compresses well, and natively supports nested structures common in analytics.
In the example below, we create a named file format in Snowflake to represent Parquet and the desired file options. We then specify which bucket will contain our copied dataset. Finally, we copy the dataset to the bucket.
CREATE FILE FORMAT my_parquet_format TYPE = parquet;

-- Create the external stage that specifies the S3 bucket to copy into
CREATE OR REPLACE STAGE external_stage
URL='s3://mybucket/mydataset'
CREDENTIALS=(AWS_KEY_ID='<key>' AWS_SECRET_KEY='<secret>')
FILE_FORMAT = my_parquet_format;

-- Apply "mydataset" prefix to all files and specify a max file size of 150mb
-- The `header=true` parameter is required to get column names
COPY INTO @external_stage/mydataset from mydataset max_file_size=157286400 header=true;
For a dataset around 5TB of data with a maximum file size of 150MB, and using a 2X-Large Snowflake warehouse located in the same AWS us-east-1 region, copying data to the S3 bucket will take around 30 minutes.
2. Importing to ClickHouse
Once the data is staged in intermediary object storage, ClickHouse functions such as the s3 table function can be used to insert the data into a table, as shown below.
This example uses the s3 table function for AWS S3, but the gcs table function can be used for Google Cloud Storage and the azureBlobStorage table function can be used for Azure Blob Storage.
Assuming the following table target schema:
CREATE TABLE default.mydataset
(
    `timestamp` DateTime64(6),
    `some_text` String,
    `some_file` Tuple(filename String, version String),
    `complex_data` Tuple(name String, description String),
)
ENGINE = MergeTree
ORDER BY (timestamp)
We can then use the INSERT INTO SELECT command to insert the data from S3 into a ClickHouse table:
INSERT INTO mydataset
SELECT
    timestamp,
    some_text,
    JSONExtract(
        ifNull(some_file, '{}'),
        'Tuple(filename String, version String)'
    ) AS some_file,
    JSONExtract(
        ifNull(complex_data, '{}'),
        'Tuple(filename String, description String)'
    ) AS complex_data,
FROM s3('https://mybucket.s3.amazonaws.com/mydataset/mydataset*.parquet')
SETTINGS input_format_null_as_default = 1, -- Ensure columns are inserted as default if values are null
input_format_parquet_case_insensitive_column_matching = 1 -- Column matching between source data and target table should be case insensitive
The VARIANT and OBJECT columns in the original Snowflake table schema will be output as JSON strings by default, forcing us to cast these when inserting them into ClickHouse.
Nested structures such as some_file are converted to JSON strings on copy by Snowflake. Importing this data requires us to transform these structures to Tuples at insert time in ClickHouse, using the JSONExtract function as shown above.
3. Testing successful data export
To test whether your data was properly inserted, simply run a SELECT query on your new table:
SELECT * FROM mydataset limit 10;
If you are having issues transferring data from Snowflake to ClickHouse, please feel free to contact us at support@clickhouse.com.